
How To
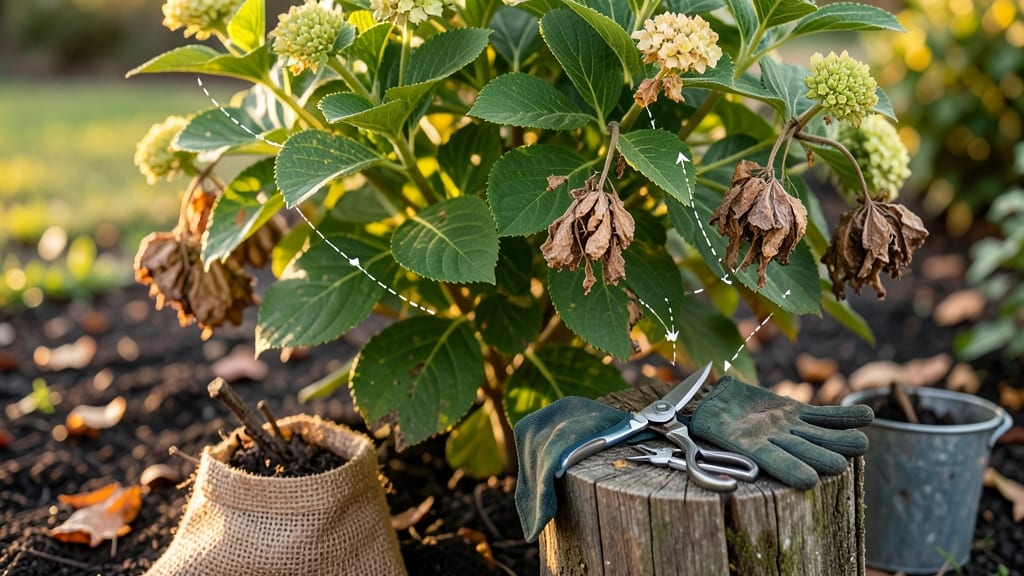
Pruning bushes transforms leggy, overgrown shrubs into vibrant, productive plants that bloom better and resist disease. ✂️ I’ve turned my neglected lilac into a lush, fragrant centerpiece by mastering just three key cuts—each timed to the season.
The right technique prevents dead wood, encourages new growth, and keeps your bushes looking intentional, not chaotic.
Start with clean, sharp tools and a clear plan: flowering bushes get their haircut right after blooming, while non-flowering types thrive when pruned in late winter. Cut at a 45-degree angle just above a bud or branch collar to avoid leaving stubs that invite rot.
For thick branches, make two cuts instead of one to prevent tearing. The goal? Shape, not perfection—healthy bushes reward patience with fuller foliage and stronger stems.
📚 In This Guide
- What you need
- Instructions
- Tips and common mistakes
- Wrapping up and next steps
What you need
- ● Pruning shears (bypass or anvil type) – Choose bypass for clean cuts on live plants (recommended for most bushes) or anvil for deadwood (heavier-duty). Size: 6-8 inches for most tasks.
- ● Loppers – For thicker branches (½ to 1½ inches). Opt for bypass loppers with a ratchet mechanism for easier cutting.
- ● Pruning saw – For branches thicker than 2 inches. A bow saw or curved blade works best.
- ● Gloves – Wear gardening gloves (preferably cut-resistant) to protect your hands from thorns, sap, or rough branches.
- ● Disinfectant (rubbing alcohol or bleach solution) – Clean tools between cuts to prevent disease spread. Mix: 1 part bleach to 9 parts water.
- ● Extension pole saw – For tall bushes (e.g., hydrangeas or roses) to avoid ladders.
- ● Sharpener/file – Keep blades razor-sharp for precise cuts.
- ● Pruning sealant – Only needed for non-succulent plants (e.g., fruit trees) to prevent disease on large cuts.
- ● Trash bags or bucket – For collecting clippings. A 5-gallon bucket works well for small jobs.
- ● Safety glasses – Protects eyes from flying debris, especially when using a saw.
- ● Know your bush’s type – Research whether it’s deciduous, evergreen, flowering, or fruiting to prune at the right time.
- ● Check the weather – Prune on a dry, calm day (avoid rain or high winds).
- ● Have a plan – Sketch or mentally map out cuts to maintain shape and health.
Step-by-step instructions for pruning bushes
Here’s how I approach pruning to keep bushes thriving—whether you’re shaping, rejuvenating, or just maintaining health.
✂️ Step 1: Assess the Bush and Plan Your Cuts
Start by examining your bush closely to identify dead, diseased, or crossing branches. I look for three key signs: brown, brittle wood; branches rubbing against others; and stems growing inward. These are the first to go—they rob energy from healthy growth. Use clean, sharp pruners to avoid tearing bark, which invites infections.
Next, decide on your pruning goal. For shaping, I make light cuts to refine the natural form, removing only what disrupts the silhouette. For rejuvenation, I target older wood—typically branches thicker than a pencil—to encourage new growth from the base. Sketch a rough outline if needed; visualizing the result prevents over-pruning.
✂️ Step 2: Remove Dead, Diseased, or Damaged Wood
Always start with sanitized tools—wipe blades with rubbing alcohol between cuts to prevent spreading pathogens. Cut just outside the branch collar, the swollen area where the branch meets the trunk. This ensures the bush seals the wound properly. For dead wood, you’ll notice a hollow center or no green beneath the bark when scratched.
If you find diseased branches—look for black spots, mold, or oozing sap—remove them entirely and dispose of them in the trash, not the compost. Healthy branches should snap with a clean break when bent; if they crack or splinter, they’re already compromised. Work in small sections to avoid overwhelming the bush, and pause to admire your progress—it’s satisfying to see the immediate improvement.
☀️ Step 3: Thin Out Crowded Branches for Airflow
Overcrowded branches compete for sunlight and nutrients, leading to weak growth. I focus on selective thinning, removing one-third of the oldest branches to open the center. Aim for a vase-like shape—wider at the base and narrowing toward the top. This encourages airflow, reducing humidity that fuels fungal diseases like powdery mildew.
When thinning, cut branches back to their origin point. Avoid leaving stubs, which can rot and attract pests. If a branch is too thick for your pruners, use a three-cut method: make the first cut 1-2 inches out from the trunk, then a second cut just outside the first, and finally remove the remaining stub. This prevents bark from tearing. Step back often to check your progress—you’ll notice a dramatic difference in the bush’s openness.
⏰ Step 4: Shape and Maintain the Bush’s Form
For formal shapes, use a handheld saw for larger branches and pruners for finer adjustments. I like to step back every few cuts to assess the overall silhouette. Prune just outside a bud or leaf node to encourage new growth in the desired direction. If the bush is flowering, time your cuts to avoid removing next year’s blooms—most spring-flowering bushes bloom on old wood, so prune right after they finish flowering.
For informal shapes, let the bush’s natural form guide you. Remove only what disrupts the balance. If you’re unsure, less is more—over-pruning stresses the bush and can lead to weak regrowth. Water the bush deeply after pruning to help it recover, especially if you’ve made heavy cuts. Mulch around the base to retain moisture and protect roots from temperature swings.
🌿 Step 5: Clean Up and Monitor Recovery
After pruning, rake up all debris and dispose of it properly—don’t leave clippings on the ground, as they can harbor diseases. I also sterilize my tools again with rubbing alcohol to prevent cross-contamination if I move to another plant. Keep an eye on the bush in the weeks following pruning; healthy new growth should appear within 4-6 weeks, depending on the species and season.
If you notice yellowing leaves, wilting, or excessive sap, it could signal stress or infection. Adjust your care accordingly—water more frequently if the weather is dry, or apply a fungicide if you spot signs of disease. Pruning is an investment in long-term health, so don’t rush it. A well-pruned bush will reward you with vibrant foliage, better blooms, and stronger structure for years to come.
Tips & tricks for perfect bush pruning
These pro-level insights will help you transform your bushes with confidence—whether you're a beginner or refining your technique.
Tool Prep Matters: Sharpen your pruners before you start—dull blades crush stems instead of making clean cuts, which stresses the plant. I test sharpness by slicing through a paper towel; if it tears, your blades need honing. For thicker branches, a bypass pruner works best, while anvil pruners are better suited for smaller, dead wood. Always carry rubbing alcohol and paper towels to sanitize between cuts—this prevents spreading diseases from one branch to another.
Seasonal Timing Secret: The best time to prune depends on your bush type. For spring-flowering varieties like lilacs or forsythia, prune immediately after blooming to avoid cutting off next year's buds. Summer-pruning is ideal for shaping evergreens, while late winter (before buds swell) works for most deciduous bushes. I mark my calendar with seasonal reminders—missing the window can mean sacrificing blooms or new growth.
Visual Cues for Better Cuts: Step back frequently during Step 3 (thinning) to assess the vase-like shape. Hold your pruners at a 45-degree angle when cutting—this creates a sloping cut that heals better than a flat one. For branches thicker than a pencil, make your cut just outside the branch collar (the swollen area where the branch meets the trunk). This natural seal prevents disease entry better than cutting flush with the trunk.
Post-Pruning Recovery: After finishing Step 5, give your bush a recovery boost by applying a balanced fertilizer (like 10-10-10) two weeks later. This helps compensate for the stress of pruning. I also recommend watering deeply right after pruning—especially if you've removed a significant portion of foliage. Mulch around the base with 2-3 inches of organic material to retain moisture and protect roots from temperature fluctuations.
Pro Tips for Prune Bushes
- These pro-level insights will help you transform your bushes with confidence—whether you're a beginner or refining yo...
- Tool Prep Matters: Sharpen your pruners before you start—dull blades crush stems instead of making clean cuts, which ...
- Seasonal Timing Secret: The best time to prune depends on your bush type. For spring-flowering varieties like lilacs ...
Frequently asked questions
Got questions about pruning bushes? You’re not alone! Here are some of the most common concerns—and their answers—to help you prune like a pro.
When is the best time to prune bushes?
The ideal time depends on your bush type. Spring-flowering bushes (like lilacs or azaleas) should be pruned right after blooming to avoid cutting off next year’s flowers. For summer- or fall-blooming bushes (e.g., hydrangeas or roses), prune in late winter or early spring before new growth starts. Evergreens can often be pruned in late winter or early spring, too.
How do I know if I’m over-pruning my bush?
Over-pruning shows up in a few ways: bare stems, stunted growth, or no flowers for a season. If more than ⅓ of the bush’s foliage is gone, you’ve likely pruned too much. Rule of thumb: Never remove more than 25–30% of a bush’s total growth in one session. If you’ve already overdone it, don’t panic—just stop pruning for the season and focus on watering and fertilizing.
Can I prune bushes in the fall?
It depends! Avoid heavy pruning in fall for most bushes, as new growth can’t harden off before winter, making them vulnerable to frost damage. Exceptions: Light shaping of evergreens or removing dead/diseased branches is fine. For flowering shrubs, wait until late winter or early spring to prune. If you must prune in fall, do it 6–8 weeks before the first frost and keep cuts clean.
What if my bush isn’t growing after pruning?
Slow or no growth after pruning could mean stress from over-pruning, poor soil, or disease. Check for:
- Root health: Are roots compacted or waterlogged?
- Nutrients: Add compost or a slow-release fertilizer.
- Pests/disease: Look for holes, discoloration, or wilting.
Do I need special tools for small bushes?
Not necessarily! For small bushes, hand pruners or bypass pruners work great for clean cuts. If branches are thicker than ½ inch, loppers are better. Avoid hedge trimmers for detailed work—they can tear bark and damage the bush. A sharp pair of pruners and a cleaning solution (rubbing alcohol) are all you need for most jobs.
Wrapping up and next steps
Pruning bushes doesn’t have to be intimidating—with the right tools, timing, and technique, you can transform your yard into a thriving, well-shaped oasis! 🌿 Whether you’re trimming for health, aesthetics, or seasonal renewal, remember that consistency is key.
Start small, observe your plants, and soon you’ll see the rewards of your efforts in lush, vibrant growth.
Ready to take the next step? Grab your shears and schedule a pruning session—your bushes (and future self) will thank you! For extra confidence, watch a few tutorials or join a local gardening group to swap tips. Happy pruning!