
How To
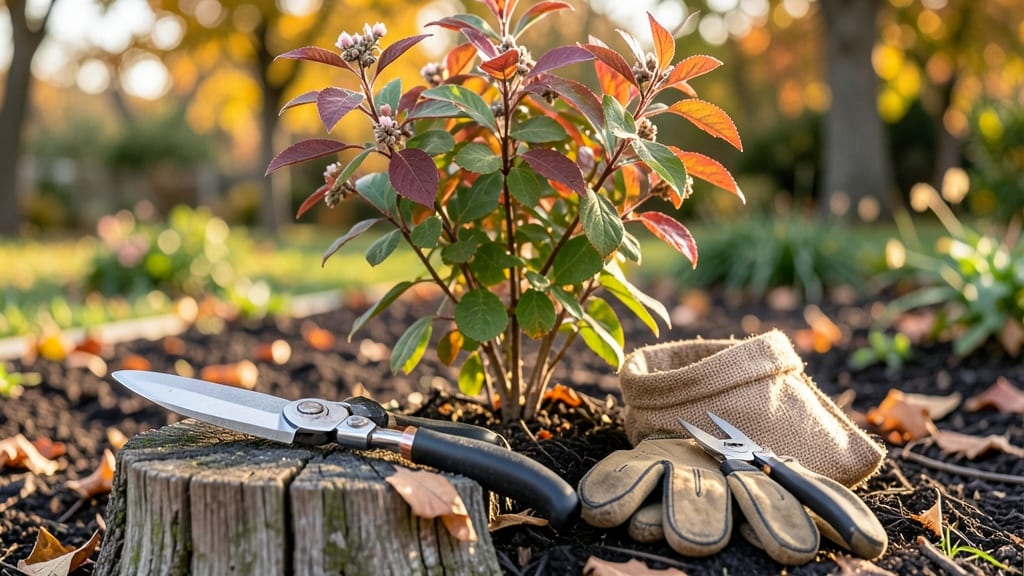
Pruning burning bush in late winter reveals its hidden structure—thin, leggy canes transform into a dense, disease-free shrub with just the right cuts. ✂️ I’ve turned my overgrown bush from a tangled mess into a showstopper by mastering two simple techniques: rejuvenation pruning for older plants and light maintenance for younger ones.
The key? Timing, sharp tools, and knowing exactly where to make each cut.
Start by removing dead, diseased, or crossing branches first—they’re the easiest to spot when the bush is dormant. Then, for rejuvenation, cut back one-third of the oldest canes to the ground, while maintenance pruning keeps the shape tidy by trimming just the tips.
Wear gloves (that sap does irritate skin) and sanitize your tools between cuts to prevent spreading any hidden infections. A little precision now means a bush that bursts with vibrant red foliage all season.
📚 In This Guide
- What you need
- Instructions
- Tips and common mistakes
- Wrapping up and next steps
What you need
- ● Pruning shears: Bypass pruners with sharp, clean blades (4–6 inches long) for cutting small branches (up to ½ inch in diameter). Skip dull tools—they crush stems and invite disease!
- ● Loppers: 8–10-inch bypass loppers for branches ½ to 1½ inches thick. Look for ratcheting or bypass action for precision.
- ● Pruning saw: A curved-tooth handsaw or folding pruning saw for branches over 1½ inches thick. Avoid cheap saws—they gum up with sap.
- ● Gloves: Leather or heavy-duty nitrile gloves (size medium/large) to protect against thorns and sap irritation.
- ● Disinfectant: 70% isopropyl alcohol or a 10% bleach solution (1 part bleach to 9 parts water) to sterilize tools between cuts.
- ● Heavy-duty trash bags: 30–50 gallon bags for collecting pruned branches and debris.
- ● Extension pole: A 3–6 foot telescoping pole with a saw or shears attachment for hard-to-reach branches.
- ● Step stool: A foldable, non-slip stool (12–18 inches tall) for stability when pruning taller bushes.
- ● Rubbing alcohol wipes: For quick tool disinfection on the go.
- ● Sharpie or marker: To label branches if you’re doing structured pruning (e.g., marking canes to remove).
- ● Timing: Prune during late winter or early spring (dormant season)—before buds swell but after the worst cold snaps.
- ● Weather: Choose a dry, overcast day (rain can spread disease spores).
- ● Safety gear: Safety glasses (in case of debris) and closed-toe shoes.
Step-by-step instructions for pruning burning bush
Here's how I transform tangled, overgrown shrubs into healthy, disease-resistant specimens every dormant season.
✂️ Step 1: Assess and Remove Dead or Diseased Canes
Start by examining each cane from the base upward. Look for branches that are completely brown, hollow, or showing signs of fungal infection like blackened streaks or powdery mildew. These are your first targets—they won't recover and will only spread disease to healthy growth. Use clean, sharp pruners to cut these canes back to the ground level, making the cut at a 45-degree angle just above a bud or lateral branch.
I always wear gloves for this step because some infected canes can harbor spores. A quick spray of 70% isopropyl alcohol on your pruners between cuts prevents cross-contamination. If you find more than 25% of the shrub's canes are dead or diseased, consider whether the plant is worth saving or if you should replace it entirely.
✂️ Step 2: Thin Out Overcrowded Branches
Next, focus on the remaining healthy canes. Burning bush thrives when it has good airflow, which means you'll need to thin out crowded branches. Select the thickest, most vigorous canes—these are the ones that will produce the best fall color. For every 3-4 canes you leave, remove one. Cut these branches back to the ground or to a strong lateral branch, again using that 45-degree angle to encourage proper healing.
This is where most people make their first mistake—they leave too many thin, weak canes. You'll know you're doing it right when you can see light filtering through the center of the shrub. If you're unsure which canes to keep, look for the ones with the most reddish-green buds along the stem—these will grow into the strongest new branches.
✂️ Step 3: Shape the Shrub for Airflow and Structure
Now it's time to shape the shrub. Burning bush responds well to a natural, rounded form, but avoid creating a perfectly symmetrical dome—this can lead to dead centers where light and air don't penetrate. Step back every few cuts to visualize the overall shape. Focus on creating an open center by removing any branches that grow inward or cross over others. These crossing branches rub against each other, creating wounds that invite disease.
For larger shrubs, I often work in stages. Start with the outer branches, then move inward. Use your pruners to trim back any branches that are growing too long or leggy. Aim to keep the shrub's width slightly wider than its height—this creates a stable, wind-resistant structure. If you're pruning a young shrub, you can be more aggressive with shaping, but older shrubs benefit from more gradual adjustments.
✂️ Step 4: Clean Up and Prepare for New Growth
Once you've finished pruning, gather all the trimmed branches and remove them from the area immediately. Burning bush canes can harbor pests and diseases, so don't leave them on the ground or in your compost pile. If possible, dispose of them in a sealed bag or burn them. This final cleanup step is critical—it prevents reinfestation and ensures your shrub starts the growing season strong.
After pruning, give the base of the shrub a light application of mulch to protect the roots and retain moisture. Avoid piling mulch directly against the trunk, as this can cause rot. Water the shrub deeply if the dormant season has been particularly dry, but avoid overwatering—burning bush is quite drought-tolerant once established. Your shrub is now ready to burst into vibrant new growth come spring, setting the stage for stunning fall foliage.
Tips & tricks for pruning burning bush like a pro
Transforming your overgrown shrubs into vibrant, healthy specimens starts with these essential pruning insights that go beyond the basics.
Tool Prep is Non-Negotiable: Before you even touch a cane, sharpen your pruners—dull blades tear tissue instead of making clean cuts. I test mine by slicing through a paper bag; if it resists, it's time to hone them. A 45-degree angle cut just above a bud (as mentioned in Step 1) is critical because it prevents water from pooling on the wound, which invites rot. I also keep a small bottle of 70% isopropyl alcohol handy to wipe between cuts on diseased branches—this simple step prevents spreading fungal spores to healthy growth.
The 25% Rule Saves Shrubs: If you find more than 25% of your burning bush's canes are dead or diseased (as noted in Step 1), don't waste time trying to revive it. I've learned this the hard way—once a shrub passes this threshold, it's better to replace it than to propagate disease. For younger shrubs with fewer than 25% affected canes, focus on removing only the most severely infected branches to give the plant a fighting chance.
Visual Cues Over Guessing: When thinning branches in Step 2, trust your eyes more than the numbers. While the 3-4 canes rule is a good starting point, the real test is whether you can see light filtering through the center of the shrub. I often work in stages: first remove the obvious offenders (crossing branches, inward-growing limbs), then step back every few cuts. If you can't see daylight through the middle, you're not done yet. The reddish-green buds mentioned in Step 2 are your best friends—these indicate vigorous growth potential.
Seasonal Timing Matters More Than You Think: Dormant season pruning (late winter to early spring) is ideal because the shrub isn't actively growing, so it can heal quickly. But if you absolutely must prune in summer, do it on an overcast day to reduce stress on the plant. I've seen burning bushes recover beautifully from summer pruning, but they'll need extra watering and monitoring for signs of stress like wilting or yellowing leaves. Never prune in fall—this removes the energy stores the plant needs to survive winter.
Pro Tips for Prune Burning Bush
- Transforming your overgrown shrubs into vibrant, healthy specimens starts with these essential pruning insights that ...
- Tool Prep is Non-Negotiable: Before you even touch a cane, sharpen your pruners—dull blades tear tissue instead of ma...
- The 25% Rule Saves Shrubs: If you find more than 25% of your burning bush's canes are dead or diseased (as noted in S...
Frequently asked questions
Got questions about pruning your burning bush? You’re not alone! Here are answers to the most common concerns—from timing to tools—to keep your shrub healthy and vibrant.
When is the best time to prune burning bush?
Prune your burning bush late winter or early spring, just before new growth begins. This is when the plant is dormant, reducing stress and disease risk. Avoid pruning in fall or during active growth—it can invite pests or fungal issues. Pro tip: If you missed dormancy, wait until after flowering to avoid cutting off next year’s blooms!
How much can I cut back my burning bush?
You can prune up to ⅓ of the plant’s height per year to maintain shape. For rejuvenation, cut back old, woody stems to the ground—just leave 1–2 feet of new growth for regrowth. Over-pruning (more than ⅓) stresses the plant and may reduce flowering. Warning: Never remove more than ⅓ in a single season!
What should I do if my burning bush has dead or diseased branches?
Remove any dead, diseased, or crossing branches first—sterilize your pruners with rubbing alcohol between cuts to prevent spreading pathogens. Cut back to healthy green tissue, and dispose of infected branches in the trash (not compost). If powdery mildew or leaf spot appears, prune in dry, sunny conditions and improve air circulation. Prevention tip: Water at the base, not overhead!
Can I prune burning bush in summer?
Summer pruning is not ideal but can be done for light shaping—just avoid heavy cuts. Pruning in summer stresses the plant, reduces next year’s flowers, and may attract pests. If you must, do it early morning to minimize heat stress. For best results, stick to dormant-season pruning (late winter/early spring). Key rule: Never prune after mid-summer!
What if my burning bush isn’t blooming after pruning?
Burning bushes bloom on new wood, so pruning too late (after flowering) can delay blooms. If it’s not flowering, check for:
- Over-pruning (cut back too aggressively)
- Poor sunlight (needs full sun for best blooms)
- Nutrient deficiency (add balanced fertilizer in early spring)
- Age (older shrubs may bloom less; rejuvenate with hard pruning)
Wrapping up and next steps
Pruning your burning bush during dormancy isn’t just about aesthetics—it’s a game-changer for its health and vibrancy! By following this blueprint, you’ll encourage stunning growth, prevent disease, and keep those fiery red canes looking their best.
Remember, timing, tools, and technique are your allies, so don’t rush—take your time to transform your shrub into a showstopper.
Now that you’re armed with the know-how, grab those pruners and get to work! 🌿✂️ For extra flair, consider shaping your bush into a classic hedge or letting it grow wild for a natural, rustic look. Happy pruning—and enjoy your disease-free, dazzling burning bush all season long!