
Pruning
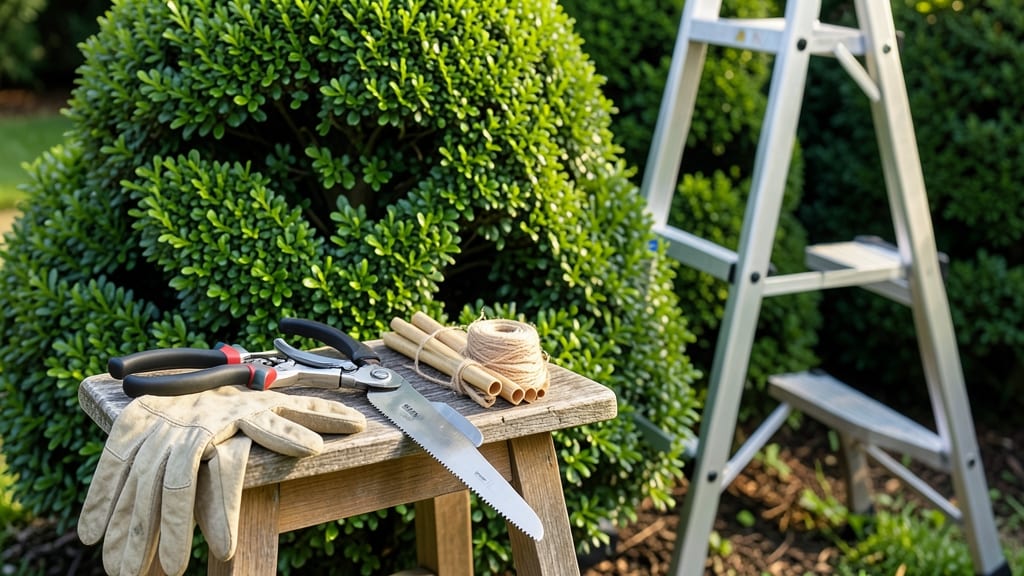
Pruning bushes into shapes isn't just about clean cuts—it's about transforming your yard into a living work of art. ✂️ I've spent years perfecting the art of topiary, and the secret starts with the right tools and a steady hand.
The first time I shaped a boxwood into a perfect spiral, I knew I'd found my gardening passion.
You'll need sharp pruners, a hand saw for thicker branches, and a sturdy ladder if your bushes are tall. Start with young, flexible plants like boxwood, privet, or yew—they respond best to shaping.
The best time to prune is late spring or early summer, when new growth is just beginning but hasn't hardened off yet. This gives your plants time to recover before winter.
What you'll achieve is a garden that looks like it belongs in a historic estate, not just your backyard. Imagine perfectly manicured spirals, geometric hedges, or even whimsical animal shapes that neighbors will admire.
The key is patience—shape gradually over seasons, and your bushes will stay lush and full. For boxwood, aim for 1/3 of new growth each year to keep it healthy.
Even experienced gardeners make mistakes, like cutting too aggressively or ignoring plant health signals. We'll cover those pitfalls, plus how to revive over-pruned bushes. This method works for formal gardens, cottage-style borders, or even container topiary—your creativity is the only limit.
📚 In This Guide
- What you need
- Instructions
- Tips and common mistakes
- Wrapping up and next steps
What you need
- ● Bypass pruners: Sharp, high-quality (Felco or Corona brands recommended) for clean cuts on stems up to ½ inch thick. (1 pair)
- ● Hand pruners: For smaller branches or detailed trimming. (1 pair)
- ● Hedge shears: Long-handled, aluminum or stainless steel blades (8–12 inches) for shaping larger bushes. (1 pair)
- ○ Loppers: For thicker branches (up to 1½ inches). (1 pair, optional for larger bushes)
- ● Garden gloves: Cut-resistant, breathable material to protect hands from thorns and sharp edges. (1 pair)
- ● Rake or leaf blower: To clear debris after pruning. (1)
- ● Twine or wire: Thin (1–2mm gauge) for temporary support while shaping. (1 roll)
- ○ Pruning saw: For stubborn, woody branches. (1, optional)
- ● Weather check: Prune on a dry, overcast day to reduce stress on the plant.
- ● Clean tools: Disinfect blades with rubbing alcohol or bleach solution to prevent disease spread.
- ● Reference images: Sketch or print a template of your desired shape for guidance.
- ● Water & snacks: Stay hydrated—pruning can be a labor of love!
Step-by-Step instructions for pruning bushes into shapes
Here's how to transform your bushes into stunning topiary with precision cuts and expert timing.
✂️ Step 1: Gather the Right Tools and Assess Your Bush
Start with sharp, clean pruning shears—dull blades tear stems and damage plant tissue. I also grab hand pruners for smaller branches and a ladder if your bush is taller than 6 feet. Wear gloves to protect your hands from thorns or sap. Before cutting, study the bush's natural growth pattern and decide on your shape—whether it's a classic spiral, geometric box, or free-form design.
Look for the bush's strongest central stem or branches, as these will form the backbone of your shape. You'll want to work with the plant's natural structure, not against it. Sketch a rough outline on paper first if you're unsure—this prevents over-pruning and helps visualize the final form.
✂️ Step 2: Prune for Structure and Shape Gradually
Begin by removing any dead, diseased, or crossing branches—these compete for energy and disrupt your design. Cut just above a leaf node or outward-facing bud to encourage growth in the direction you want. For a formal shape, start with broad cuts to establish the outline, then refine later. I like to make my first cuts 10-15% of the plant's height back to avoid shocking it.
Step back frequently to check your progress—your eyes will spot imbalances before your hands do. If a branch feels too thick to cut with hand pruners, switch to the larger shears. Remember, topiary is a slow process; you're shaping the bush, not sculpting a statue. Aim to remove no more than 25% of the foliage in a single session to avoid stressing the plant.
✂️ Step 3: Refine the Shape with Precision Cuts
Now focus on the details. For a geometric shape, use a level or string line as a guide to keep lines straight. Cut at a 45-degree angle just above a leaf node to prevent water from pooling on the cut. For curved or spiral designs, follow the natural growth direction of the branches—never force cuts against the plant's grain. I find it helpful to use a piece of wire or twine to gently bend young branches into place before they harden.
Watch for new growth that emerges after your first cuts—this is your signal to refine further. If a section looks uneven, trim small amounts at a time rather than trying to fix it all at once. The key is patience; a well-shaped topiary bush takes months, not days, to perfect. After each session, water the bush deeply to help it recover.
🌿 Step 4: Maintain and Adjust Over Time
Topiary isn't a one-time task—it requires regular upkeep. In the growing season, I prune my bushes every 4-6 weeks to maintain their shape and encourage dense growth. Use your initial cuts as a guide, but don't hesitate to adjust if the bush grows unevenly. For example, if one side outgrows the other, focus your next session on trimming back the faster-growing branches.
In late winter or early spring, give your bush a light trim to remove any dead growth from the previous year. This keeps the shape clean and prepares the plant for new growth. If you notice any yellowing leaves or weak branches, it could be a sign of over-pruning or disease—adjust your approach and consider fertilizing to support recovery.
⏰ Step 5: Time Your Cuts for Seasonal Growth
Timing matters more than you might think. For most bushes, the best time to prune is late spring or early summer, just as new growth begins. This encourages full, bushy growth before winter dormancy. Avoid heavy pruning in fall or winter, as the plant won't have time to recover before cold weather sets in. If you must shape in late winter, do so sparingly and focus on cleaning up rather than dramatic changes.
Observe how your bush responds to each session. If it produces vigorous new growth after pruning, you're on the right track. If it looks stressed—wilting, dropping leaves, or producing sparse growth—you've likely pruned too aggressively. Adjust your approach for the next session, and remember that some bushes, like boxwood, handle pruning better than others, like hydrangeas, which prefer a more natural shape.
Tips & tricks for perfect topiary shaping
Transforming bushes into elegant topiary takes precision—and these pro techniques will help you avoid common pitfalls while achieving flawless results.
Tool Preparation: Before you begin, sharpen your pruning shears with a file or hone them on a sharpening stone to maintain a clean, crisp cut. Dull blades crush stems instead of cutting cleanly, which can damage the plant. I also like to disinfect my tools with rubbing alcohol between cuts to prevent spreading disease from any dead or infected branches you remove.
Visual Guides: For geometric designs in Step 3, I recommend using a small garden level or a string line stretched between two stakes to create perfectly straight lines. For spirals, wrap a piece of twine around the central stem as a guide—this helps maintain consistent spacing between turns. The key is working with the plant's natural growth patterns rather than forcing unnatural shapes.
Seasonal Adjustments: In Step 5, if you're shaping in late winter when growth is dormant, limit yourself to removing only dead or diseased branches. The plant won't respond well to major structural changes until late spring or early summer when new growth begins. This approach prevents stressing the bush during its most vulnerable period.
Recovery Care: After each pruning session, water deeply to help the plant recover. I've found that adding a balanced fertilizer (10-10-10) to the watering can after major shaping sessions encourages robust regrowth. The first few weeks after pruning are critical—monitor for signs of stress like wilting or yellowing leaves and adjust your care routine accordingly.
Pro Tips for Pruning Bushes Into Shapes
- Transforming bushes into elegant topiary takes precision—and these pro techniques will help you avoid common pitfalls...
- Tool Preparation: Before you begin, sharpen your pruning shears with a file or hone them on a sharpening stone to mai...
- Visual Guides: For geometric designs in Step 3, I recommend using a small garden level or a string line stretched bet...
Frequently asked questions
Got questions about transforming your bushes into stunning topiary shapes? Here are some of the most common inquiries—plus expert answers to help you prune like a pro!
When is the best time of year to prune bushes into shapes?
The ideal time depends on your bush type! For evergreens (like boxwood or yew), prune in early spring or late fall to avoid stressing the plant. Deciduous bushes (like lilacs or privet) should be shaped right after flowering or in late winter before new growth starts. Avoid heavy pruning in extreme heat or cold.
What tools do I need for precise topiary cuts?
You’ll need sharp, high-quality tools for clean cuts: bypass pruners for small branches, hand pruners for twigs, and hedge shears for larger surfaces. A topiary saw helps with thicker stems, and a measuring tape or guide keeps shapes symmetrical. Pro tip: Disinfect tools between cuts to prevent disease!
Can I prune bushes into shapes without shears?
Yes! If you don’t have hedge shears, try these alternatives: Sharp scissors (for small bushes), a serrated knife (for delicate cuts), or even a string guide wrapped around branches to mark shape lines. Just work slowly and make cuts at a 45-degree angle to encourage healing. For larger projects, consider borrowing or renting shears.
Why are my pruned bushes looking leggy or sparse?
Leggy or sparse growth often happens from over-pruning or poor timing. To fix it: Prune lightly in stages (never remove more than ⅓ of the bush at once), and feed with balanced fertilizer after shaping. If the bush is young, pinch back new growth to encourage bushier growth. Avoid pruning in peak summer—wait for cooler weather!
How do I keep my topiary shapes looking neat all year?
Regular maintenance is key! Lightly trim shapes every 4–6 weeks during the growing season to remove overgrowth. In winter, give bushes a light dusting of burlap to protect from frost. Water deeply after pruning, and mulch around the base to retain moisture. For evergreens, a light prune in late fall keeps them tidy through winter.
Wrapping up and next steps
Mastering the art of pruning bushes into shapes transforms your garden into a stunning, sculpted masterpiece—one clean cut at a time! 🌿✂️ Whether you’re shaping a classic topiary or experimenting with bold designs, the key lies in patience, sharp tools, and a steady hand.
With the right techniques and confidence, you’ll create living art that brings joy (and maybe a few compliments!) year after year.
Ready to take the next step? Grab your pruners, sketch your vision, and start small—every expert gardener began with their first snip. Your green thumb is closer than you think!